This article describes the steps required for opening the case of a Sony Vaio Tap21 touch-screen all-in-one computer (svt21216cgb) and installing a replacement hard disk or solid state drive.
Opening the case
There are two screws one on each side on the vent. Using a small screwdriver you can remove a small piece of plastic cover on either side and remove the screws.
There is a plastic cylindrical shaped cover located near the stand attached with plastic clips on top and bottom on either end. This cover can remain in place as there are no screws located behind this cover.
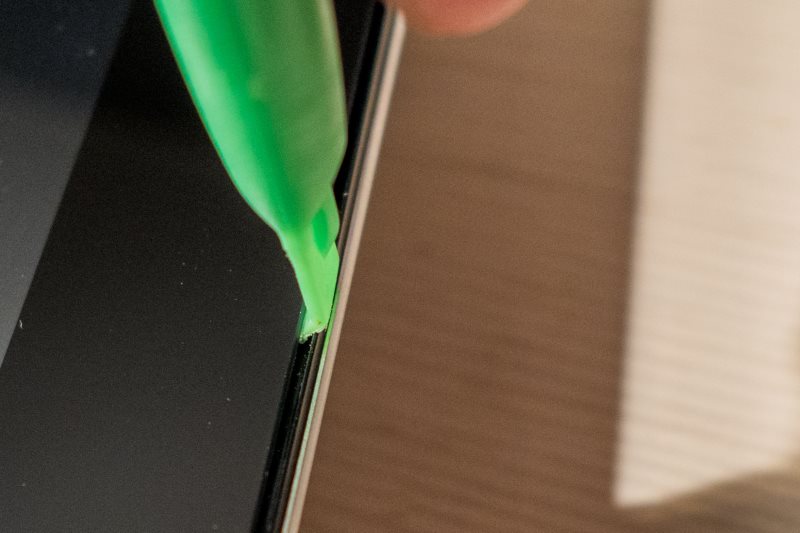
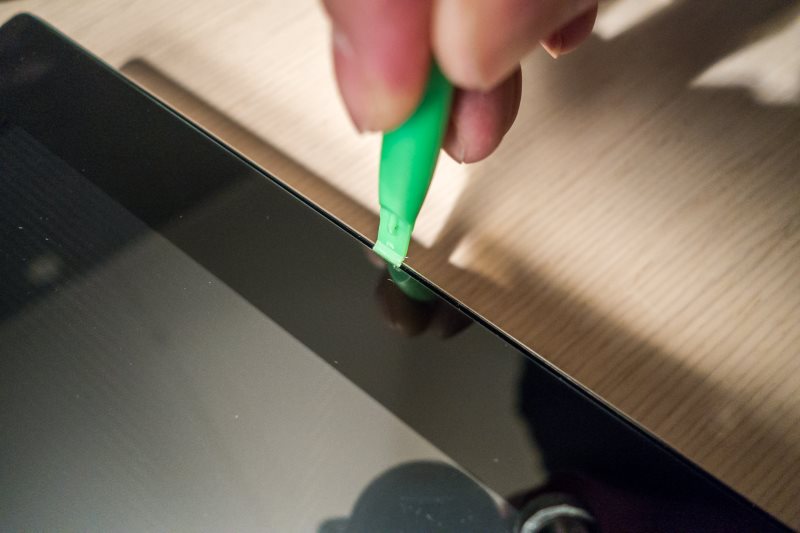
Place the device on an anti-slip surface with the screen facing up. Use a plastic spudging tool to release the glass touch-screen panel from the plastic frame. Go around the edge of screen and carefully bend it up so it releases from the chassis. Do not use anything metal as to not damage the panel or frame. Do not insert more than 2mm as to not damage internal wiring. Do not start in the corners as to not stress the glass.
Move your eye along the seam. You should see a 2mm gap where the glass panel is released. As you work your way around the sides you will notice it becomes easier to release the panel.
When most of the panel is released you can place a suction cup on the “Web cam” side (top of the screen).
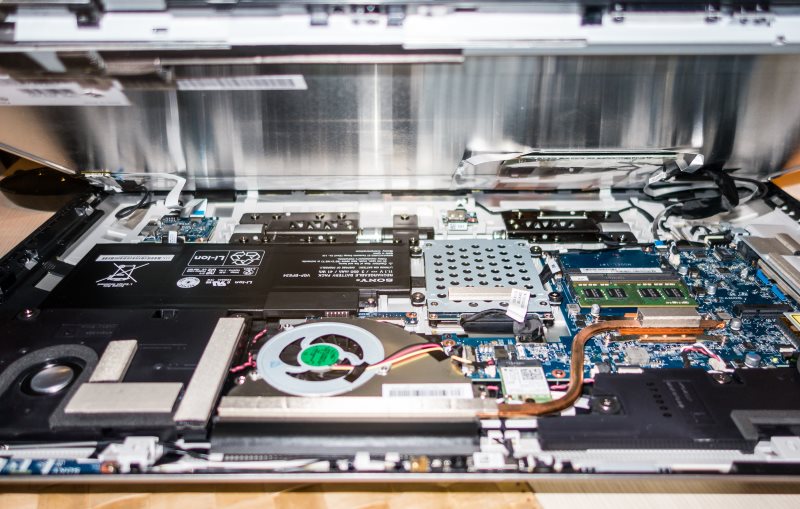
The screen is connected to the case with flat-ribbon cable where the “Windows” button sits (bottom of the screen); there are no cables on the “Web cam” side (top of the screen). We will hinge the screen upward like a car hood from the “Web cam” side (top of the screen); not from the “Windows button” side (bottom of the screen) as this is where the cabling sits. The flat ribbon cables are located near the corners on either side.
Before we start to lift the panel by gently pulling up the suction cup, it is a good idea to place some electrical duct tape around the bottom side of the screen (“Windows button”) to act as a hinge. This is to prevent the glass panel from lifting up on this side and acts as a simple hinge.
If you have not done this before it is recommended to have someone help you as this makes it easier and prevents the device from sliding.
Replacing the hard disk
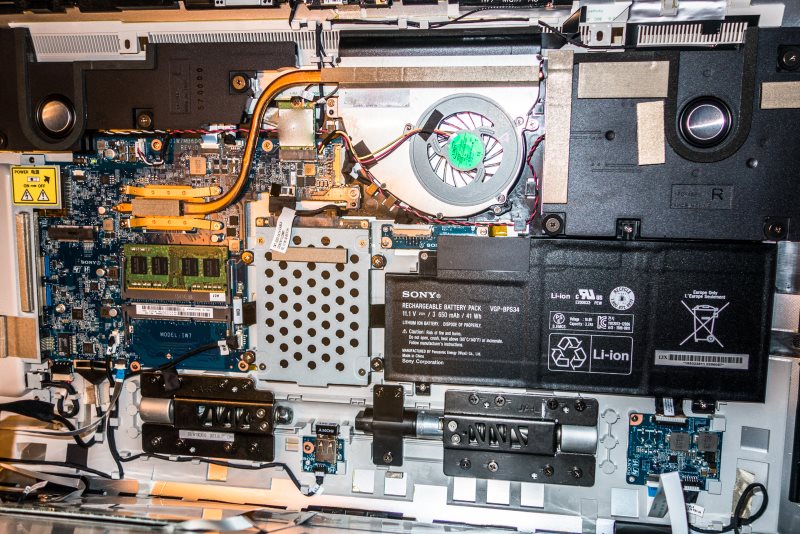
Unscrew the four screws holding the hard disk in place and gently disconnect the SATA connector. There is sufficient room to install a 7mm or 9mm 2.5 inch notebook hard disk or Solid State Drive.
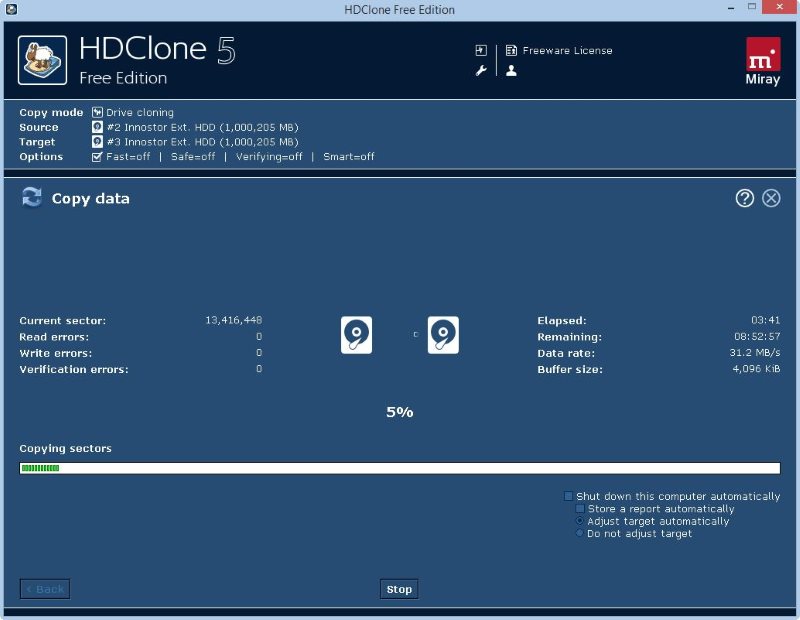
Cloning a 1TB hard disk 100% identical using a sector copy utility at a steady pace of 30MB/sec will take 9 hours.
Boot menu
If you are using Windows 8 you can interrupt the normal boot process as follows:
- Shutdown the device.
- Press the ASSIST button.
- The device will boot into an advanced boot menu, allowing you to boot from a USB device.
Alternatively, depending on the device model and BIOS (Legacy / UEFI) the following keys can be used:
F10 – Recover or maintain your system
F11 – Start from media (USB device/optical disc)
F12 – Start from network
F2 – Start BIOS setup
F4 – Shut down


