- Lay the device with the screen facing down flat on a soft cloth or blanket.
- Remove the 5 main screws.
- Remove a small screw from the back of the device holding the optical drive in place.
- Slide out the optical drive.
- Remove the memory access door to reveal an additional screw.
- Open the cover hiding the wireless mouse/keyboard USB dongle. Remove the dongle to reveal an additional screw.
- Remove the rubber grommet in each leg to reveal two additional screws.
The back of the case is held in place by clips around the whole perimeter. Be very careful and patient and gently pry the two half’s of the case apart. It is easiest to start where you removed the optical drive and move the parts by horizontally pushing /pulling and in opposite direction rather than pulling them apart vertically. Once you release a single plastic clip they just seems to “pop” off one by one.
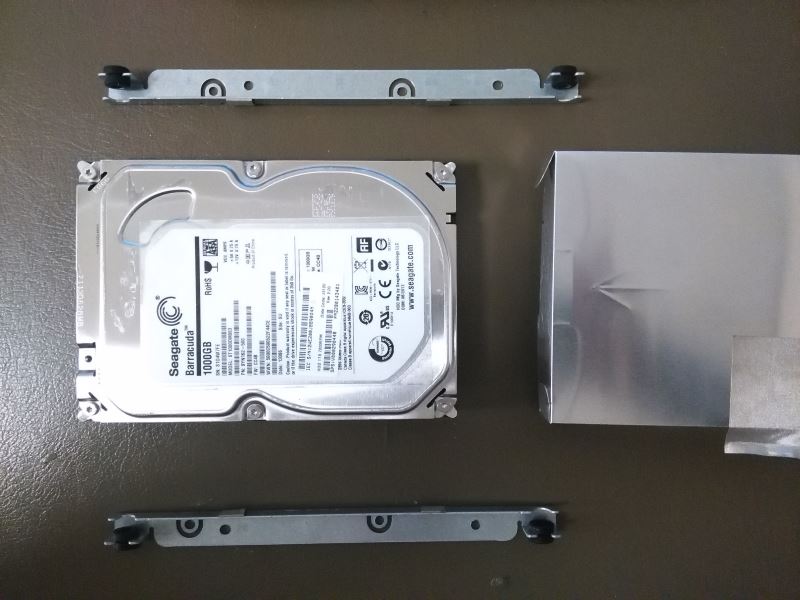
You can now access the hard disk located under a metal shield covered in metal foil sticky tape.
You can replace the Seagate 3.25 inch 1TB 20mm thick hard disk with a conventional WD 3.25 inch Caviar Blue 1TB 7200RPM 25mm thicker one.